Welcome to “The Ultimate Guide to Fixing Broken Tools,” your go-to resource for reviving your trusty implements and saving you from unnecessary replacements. In this comprehensive guide, you’ll discover practical tips and step-by-step instructions to help you repair a variety of common tools, restoring them to their former glory. Whether you’re facing a chipped hammer, a dull saw, or a jammed screwdriver, this guide will provide you with the know-how to tackle each issue with confidence and ease. Grab your toolbox, roll up your sleeves, and let’s get those tools back in working order! Have you ever found yourself in the middle of a project when suddenly, a tool breaks? It’s a frustrating situation, right? But don’t worry; you’ve come to the perfect place to get back on track. Handling a broken tool doesn’t always mean buying a new one. Sometimes, you can fix it yourself, and we’re here to guide you every step of the way. Welcome to “The Ultimate Guide to Fixing Broken Tools.”
Understanding the Basics
Before jumping into the fixes, it’s crucial to understand why tools break in the first place and what you can do to minimize such occurrences.
Common Reasons Tools Break
Tools can break for a variety of reasons, and understanding these can help you avoid mishaps in the future. These reasons include:
- Wear and Tear: Over time, continuous use can wear down any tool, no matter how well-made.
- Improper Use: Using a tool for tasks it wasn’t designed for can lead to breakage.
- Poor Maintenance: Tools need care, too. Rust, dirt, and lack of lubrication can cause tools to break.
- Inferior Quality: Sometimes, the tool itself is just poorly made.
Preventative Maintenance
Preventing tool breakage starts with good habits. Here are some tips:
- Regular Cleaning: After each use, clean your tools thoroughly to remove any debris.
- Proper Storage: Store tools in a dry, safe place away from moisture.
- Routine Inspection: Frequently check your tools for signs of wear and tear.
- Professional Servicing: For more complex tools, consider professional servicing.
Essential Tools for Fixing Broken Tools
Before you start fixing tools, you’ll need a few essentials. Here’s a handy list of items every DIY enthusiast should have:
| Essential Tools | Description |
|---|---|
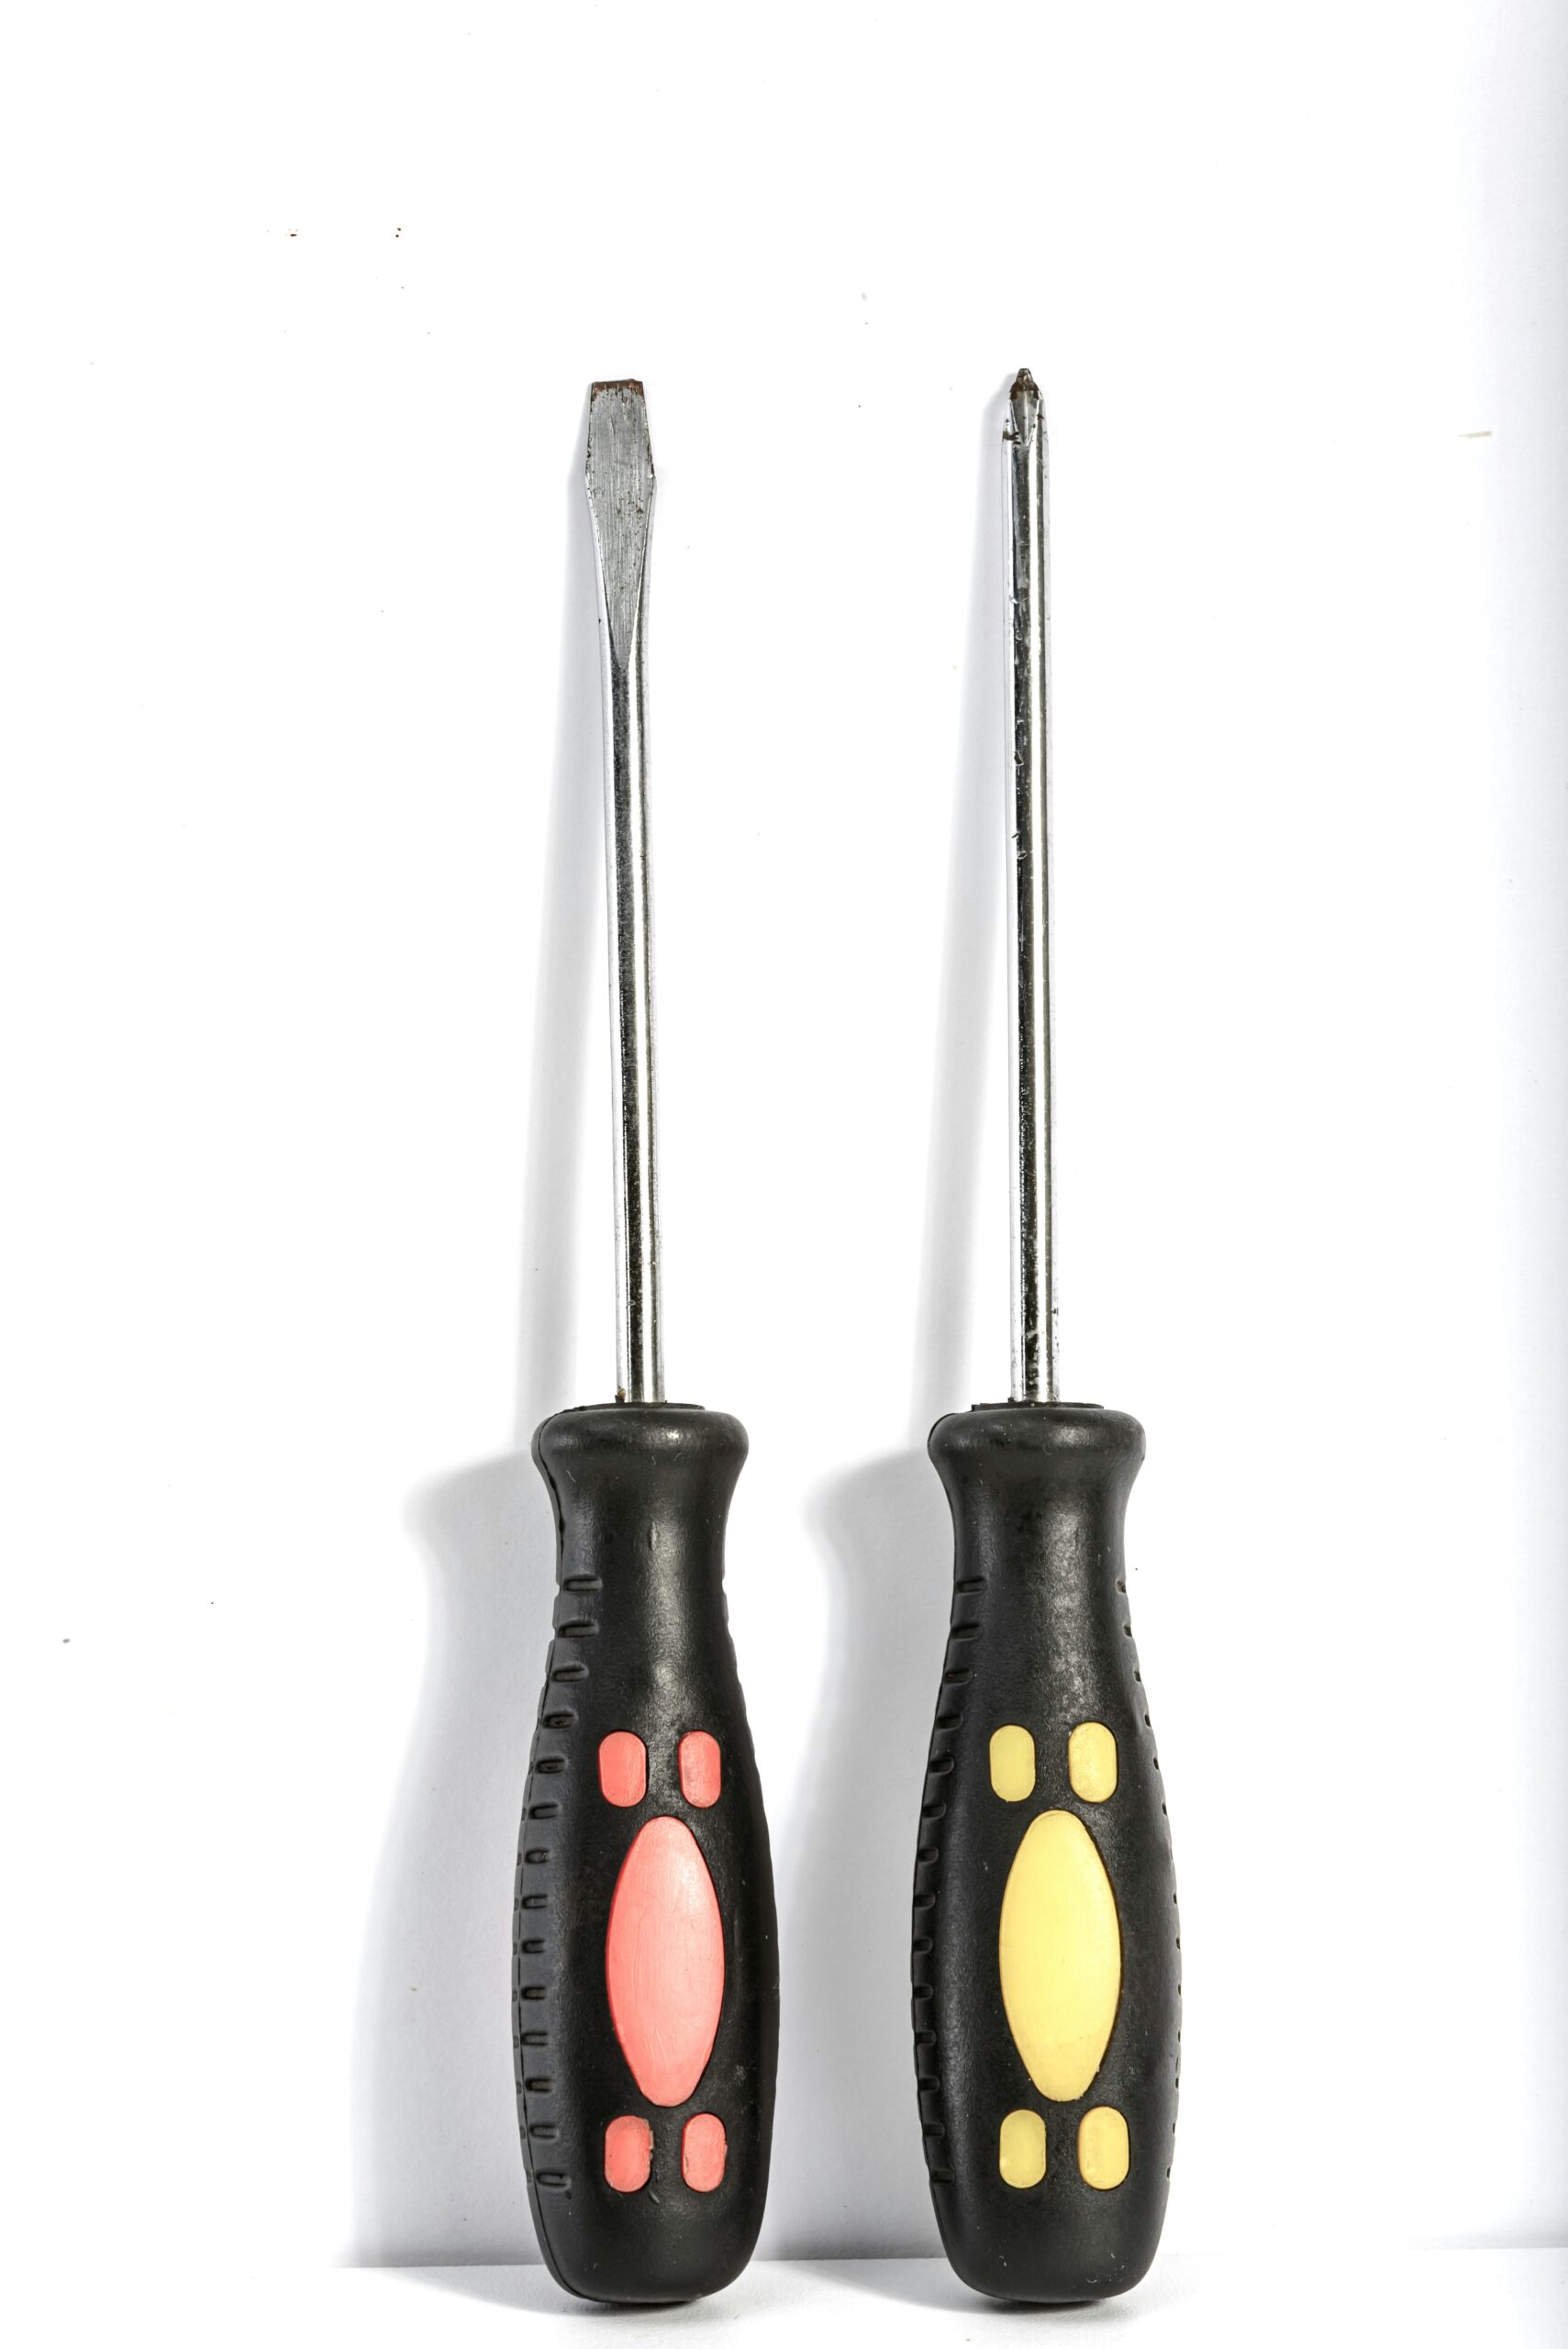
| Screwdrivers | Philips, flathead, and Torx screwdrivers of various sizes. |
| Pliers | Needlenose, locking, and slip-joint pliers. |
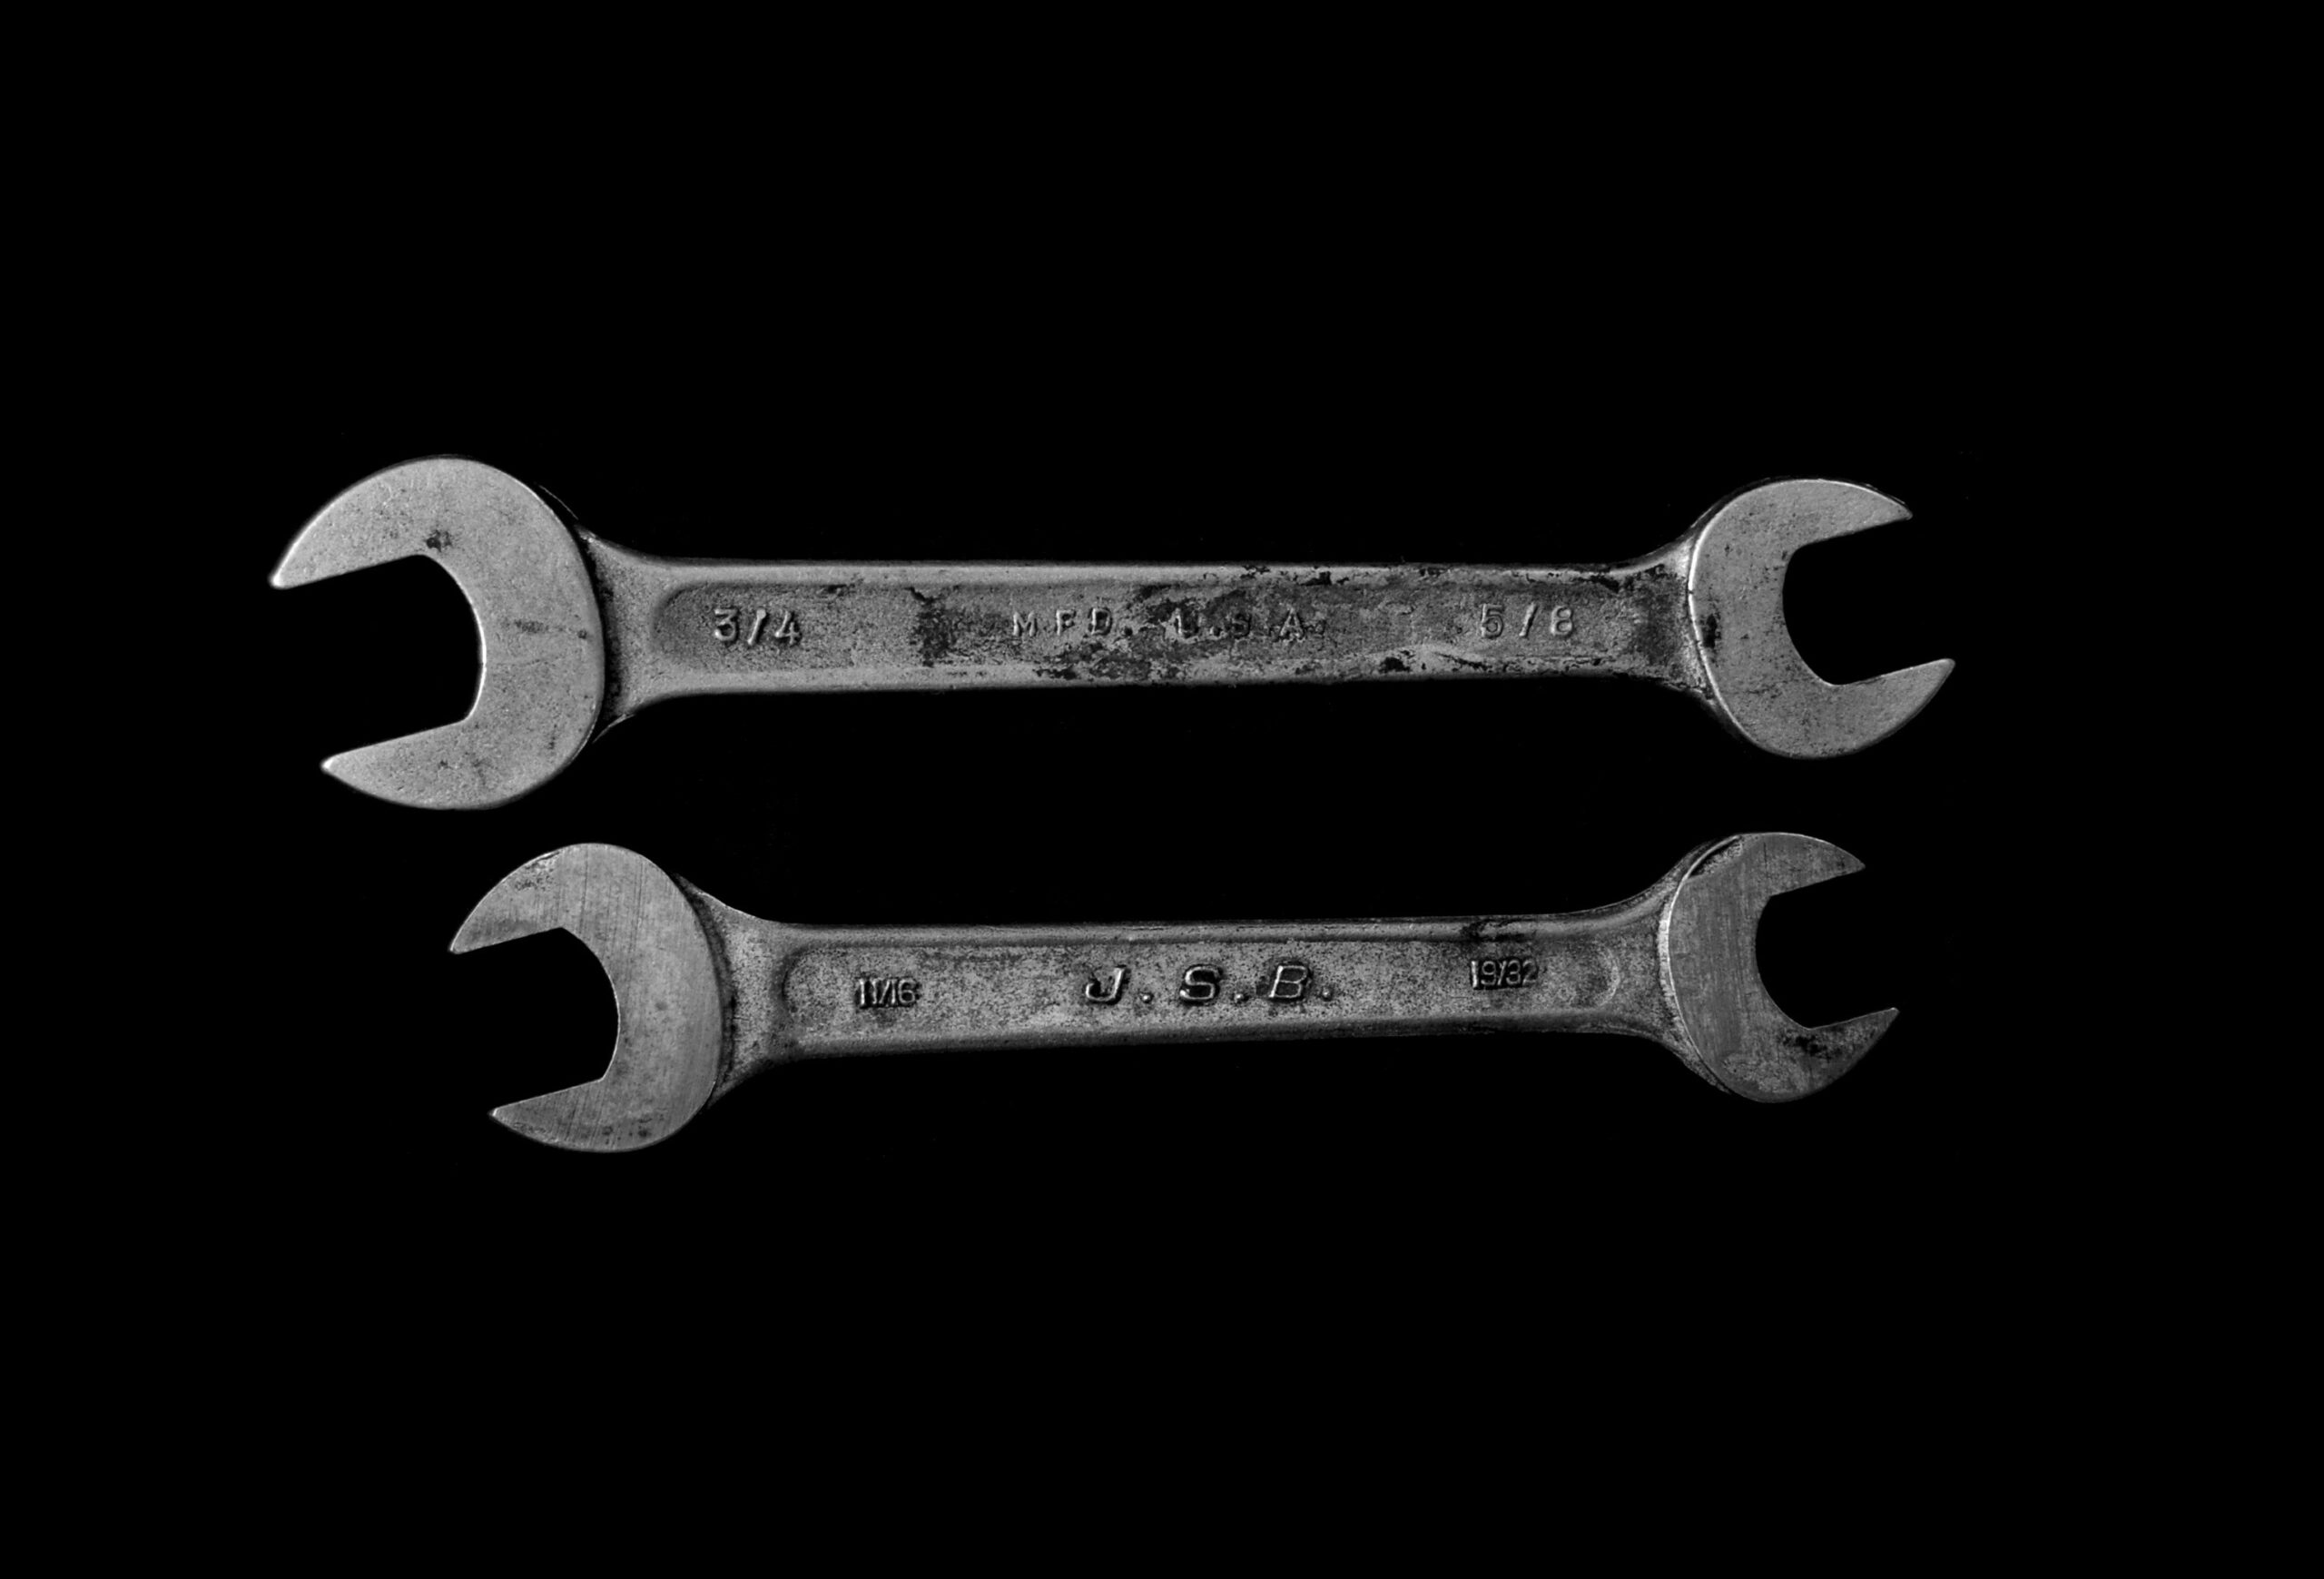
| Wrenches | A set of metric and imperial wrenches. |
| Hammers | A basic claw hammer and a rubber mallet. |
| Utility Knife | For cutting and scraping. |
| Lubricants | WD-40 or other machine lubricants. |
| Replacement Parts | Common parts like screws, nails, and bolts. |
| File Set | A set of different files for metal and wood. |
| Multimeter | For checking electrical tools. |
| Adhesives | Strong glue like epoxy, duct tape, and electrical tape. |

This image is property of images.unsplash.com.
Fixing Broken Hand Tools
Hand tools are among the simplest to fix, yet they are crucial to any toolkit. Here’s how to repair some of the most common ones.
Hammer
Broken hammers usually have one of two main issues: a loose head or a broken handle.
Loose Head:
- Remove the head and wedge splinter.
- Sand the handle to remove any rough edges.
- Reattach the head and use a wooden wedge to secure it in place.
Broken Handle:
- Remove the remaining handle from the head.
- Choose a new handle that fits well.
- Insert the handle into the head and hammer in a wedge to secure it.
Screwdriver
Screwdrivers typically break at the tip or handle.
Broken Tip:
- Use a grinder to reshape the shaft.
- Sharpen the tip to match its original shape.
Broken Handle:
- Remove any remaining part of the handle.
- Secure a new handle onto the shaft with adhesive or screws.
Pliers
Common issues with pliers include rust and misalignment.
Rust Removal:
- Soak the pliers in a mixture of vinegar and water overnight.
- Scrub away rust with a wire brush.
Realignment:
- Tighten the pivot nut with a wrench.
- Test the alignment and make further adjustments as needed.
Fixing Broken Power Tools
Power tools are a bit more complicated but still manageable with the right approach.
Cordless Drill
Cordless drills may stop working due to battery issues, motor failure, or a faulty trigger.
Battery Issues:
- Inspect the battery connections for corrosion.
- Clean the contacts with a wire brush.
- Test the battery; replace it if necessary.
Motor Failure:
- Open the drill casing.
- Inspect the motor for burnt or broken parts.
- Replace any damaged motor components.
Faulty Trigger:
- Open the drill handle.
- Test the trigger switch with a multimeter.
- Replace the trigger if it’s faulty.
Circular Saw
Circular saws often face problems with the blade, motor, or power cord.
Blade Issues:
- Disconnect the power source.
- Remove and clean the blade.
- Replace it with a new one if necessary.
Motor Problems:
- Open the casing to access the motor.
- Check for burnt wires or components.
- Replace any damaged parts.
Power Cord Damage:
- Inspect the cord for splits or exposed wires.
- Wrap damaged areas with electrical tape.
- Replace the cord if it’s too damaged.

This image is property of images.unsplash.com.
Specialized Fixes
Sometimes, your tools need specific fixes that don’t fall into general categories. Let’s dive into a few specialized solutions.
Chainsaw
Chainsaws are invaluable but can be hazardous if not properly maintained or repaired.
Chain Tension:
- Loosen the nuts that hold the bar.
- Adjust the tension screw clockwise for tightness and counterclockwise to loosen.
- Tighten the nuts back.
Chain Sharpening:
- Use a chainsaw file to sharpen each tooth.
- Ensure the teeth are equally filed for balanced cutting.
Air Compressor
An air compressor can have several issues ranging from leaky hoses to motor problems.
Leaky Hose:
- Disconnect the hose from the compressor.
- Submerge it in water and look for air bubbles.
- Use adhesive to seal any leaks or replace the hose.
Pressure Issues:
- Check the regulator for damage.
- Test the pressure switch with a multimeter.
- Replace the regulator or pressure switch if faulty.
Safety First
Before you embark on any tool repair, safety should be your priority.
General Safety Guidelines
Always adhere to these guidelines to keep yourself safe:
- Disconnect Power: Always unplug or remove batteries before attempting repairs.
- Wear Protective Gear: Use gloves, safety glasses, and masks if needed.
- Work in a Well-Ventilated Area: Ensure good airflow when working on tools to avoid inhaling harmful particles.
- Read the Manual: Always refer to the tool’s manual for specific repair and safety information.
Common Injuries and How to Avoid Them
Understanding potential injuries can help you take better precautions.
| Injury | How to Avoid |
|---|---|
| Cuts | Always pay attention and use the correct cutting tools. |
| Burns | Avoid electrical tools when wet; wear gloves. |
| Eye Injuries | Always wear safety goggles. |
| Electric Shock | Disconnect power before repairs and avoid wet environments. |

This image is property of images.unsplash.com.
When to Call a Professional
Sometimes, despite your best efforts, a tool may still give you trouble. Knowing when to call a professional can save you time and further damage.
Signs You Need Professional Help
- Persistent Issues: If a problem keeps recurring despite fixes.
- Complex Repairs: Issues with internal circuits or heavy machinery might need expert advice.
- Warranties: If your tool is under warranty, always prefer professional repair to keep it valid.
Locating Professional Repair Services
Finding the right professional can be as simple as checking online reviews, asking for recommendations, or visiting the tool manufacturer’s website for authorized service centers.
Conclusion
Fixing your broken tools can be an extremely rewarding and cost-effective endeavor. With a bit of know-how and the right approach, you’ll not only save money but also prolong the life of your tools. Remember to always keep safety in mind, tackle issues as they arise, and don’t hesitate to call in a professional if things get too complicated.
Thank you for joining us on this journey through “The Ultimate Guide to Fixing Broken Tools.” If you found this guide useful, why not share it with fellow DIY enthusiasts? Happy repairing!

