In my last post, I described how I tore down the lower unit. In this post I’ll be re-assembling it. I’ll be taking the following steps to get it complete back together.
Replace the seals, including the shift rod bushing and o-ring
Re-install the lower unit impeller, plate and gasket
Reassemble the drive gears
seal the unit
So without further ado, here’s the final step of rebuilding the lower unit.
Shift Rod Bushing
First, I started by removing and replacing the shift rod bushing and o-ring. I had already ordered a new one and had them on hand. There are several specialty tools to do this. I went with buying a steel rod and grinding the end down so it would fit snugly against the o-ring and bushing. The picture below on the left shows the 5/16″ steel rod with the tip ground down to 1/4″. The picture on the right shows the rod inserted through the bottom of the lower unit. Subsequently, A few sharp strikes with a hammer dove the o-ring and bushing out.
5/16" Rod Tip Ground doown to 1/4"
Removing Old Shift Rod Bushing
I cleaned out the bushing and o-ring pocket. Lubricating the o-ring before installing it seemed like a good idea so I used BRP Evinrude/Johnson triple guard grease to do that. After putting the o-ring in place, I used a brass hammer to gently set the bushing in place. The two pictures below show the bushing being set in place on the left and the installed shift rod from the bottom side on the right. When installing the shift rod, you can press the detent spring in to slide the shift rod through the o-ring and bushing. Set the detent on the middle slot on the rod to make installing the gears easier.
Installing Shift Rod Bushing - Tap in place with a brass or nylon tipped jewelers hammer
Shift Rod Installed
Removing The Lower Unit Seals
Next, I proceeded to replace the lower unit seals. There are two seals that need to be replaced. There is a seal in the bearing housing assembly where the drive shaft goes through. Another seal is in the gearcase head. removing and replacing the seals on both these units is fairly easy and pretty much the same for both. I started with the bearing housing assembly.
Removing Bearing Housing Assembly Seal
Next, place the assembly on a flat surface, use a small screwdriver to go in through the top of the assembly. Once you grab the lip of the seal, a few sharp wraps with a small hammer will start pushing the seal out. After getting the seal started, I set it on a vise. Open the vise enough to support the bearing housing yet wide enough to allow the seal to come through. Repeat the steps with the screwdriver, making sure to catch the edge of the seal and it should pop out with a slight rap or two.
Bearing Case - Start Removing Old Seal
Bearing Case - Removing Old Seal
Lower Unit Gearcase Seal Removal
Removing Gearcase Head Seal
After that, I removed the seals from the gearcase head. I used the same procedure for this unit except I did the whole removal on a vice. I inserted the bearing housing so that the bearing faced down and rested the lip of the bearing housing on the edge of the vice. Be careful not to apply to much pressure on the housing to avoid crushing or deforming it. Again, using the same technique, I inserted the screwdriver, caught the edge of the seal and and gently tapped. I moved around the perimeter, gently tapping and making sure I did not mar the inside of the gearcase head. The inside is also a bushing and also has channels for the lower unit oil to flow through so you want to be extra careful here. See picture above on far right.
One quick note, I’ve seen advice where the gearcase seal is slightly larger than the one for the bearing housing. I measured the two that came in the kit (see picture) and found that they were identical. Doing a lookup on the part numbers for both revealed that the Evinrude part number was identical for both so I went ahead and replaced them.
Replacing The Lower Unit Seals
Replacing the seals is fairly simple. I fell back on a hack that many mechanics, auto and marine, use. I relied on a socket. Placing a socket on the seal (preferably a deep socket to save the fingers), I tapped the seals into place with a brass hammer. You want to make sure the seals are going in evenly. Hence, after every few taps, inspect the seal, if it is going in at an angle tap the socket on the high side of the seal.You want the seals to be flush with the surface of the part you are mounting them.
Replacing Lower Unit Bearing Housing Seal
Replacing Lower Unit Gearcase Head Seal
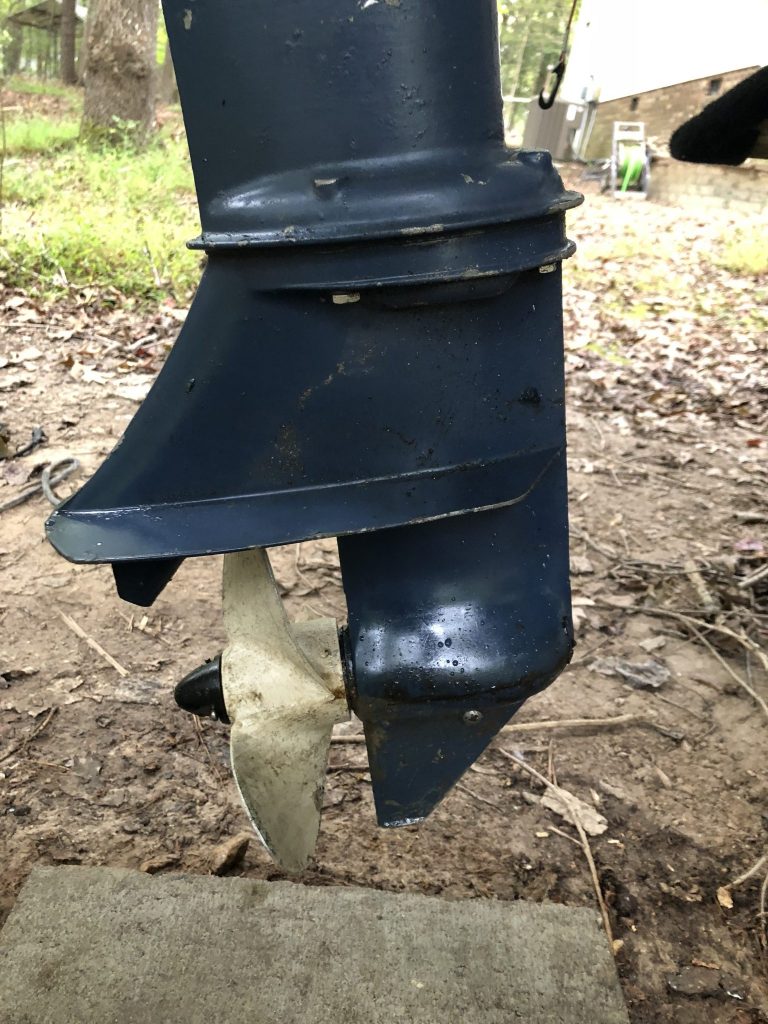
Lower Unit Impeller and Water Pump
Cleaning
Next I tackled the lower unit impeller, housing and plate. Most importantly, I had to start by cleaning it all. I started this by taking the old gasket off of the Bearing Housing. This scraped right off. I followed up on the Bearing housing by using a wire brush. I also wire brushed the area in which the bearing housing sets into the lower unit housing. When using a wire brush, I always start with the least abrasive brush that will get the job done. In this case that meant starting with the brass wire brush. If necessary, I move up to a fine wire brush and finally to a coarse wire brush. Having dental picks are a good idea. You can pick out bits of old gasket and gasket sealant with the dental picks.
New Seals On Lower Unit Gearcase and Bearing Housing
Bearing Case - Removing old Gasket
I carefully cleaned the bearing housing, the Impeller plate and the impeller housing. Making sure that all of the old crud, gasket material and gasket sealant was removed is a crucial step. After making sure all of the components were as clean as possible I began the reassembly process.
Reassembly
The next step was to replace the bearing housing. I first put a light coating of permatex gasket sealer on the base where the bearing housing would sit on. There are several marine grade gasket sealers that can be used in this step. Some are no longer available and the ones that are, are notoriously expensive. After much reading and research, I settled on the permatex aviation sealant. It has a high adhesion rate, remains flexible and of course is waterproof. These are all qualities that are desired for this as well as other components of the lower unit.
Permatex Aviation Gasket Sealer
Applying Permatex to Lower Unit
Applying the Permatex Gasket Sealer
Before using any sealant, I like to test fit parts. Making sure the bearing housing fit into it’s slot was the first step I took. After that, I applied a thin coating of the gasket sealant, and placed the gasket onto the base (see picture below). I also applied a thin coat of gasket sealant to the bottom of the bearing housing and placed it on to the gasket. Afterwards, I made sure everything was lined up correctly by inserting the back end of a dental pick into one of the screw holes and visually inspecting. See Pictures below.
Lining up Bearing Case
Installing Bearing Case with Gasket
Once the bearing Case was in place, I applied a very thin coating of gasket sealer to the top of the bearing housing. I placed the impeller plate over this, once again insuring that everything was correctly lined up. I applied a generous coating of BRP Evinrude/Johnson triple guard grease to the top of the impeller plate as well as to the inside of the impeller housing. This helps in getting the impeller in place
Twisting the Drive Shaft Clockwise to set impeller in housing when installing
Drive Shaft and Impeller Housing
Next Steps in Rebuilding this Lower Unit
Not that I have replaced the seals, bushing, gaskets and impeller I’m ready for the next step in the rebuild process. I’ll be installing the gears and sealing the unit up in step 3
I have to give a ton of credit to “Rocket City Motors” on Youtube. In the meantime, If you prefer a video tutorial on how to do a lower unit rebuild I would highly recommend these videos. I used many of his techniques to complete my lower unit rebuild.