
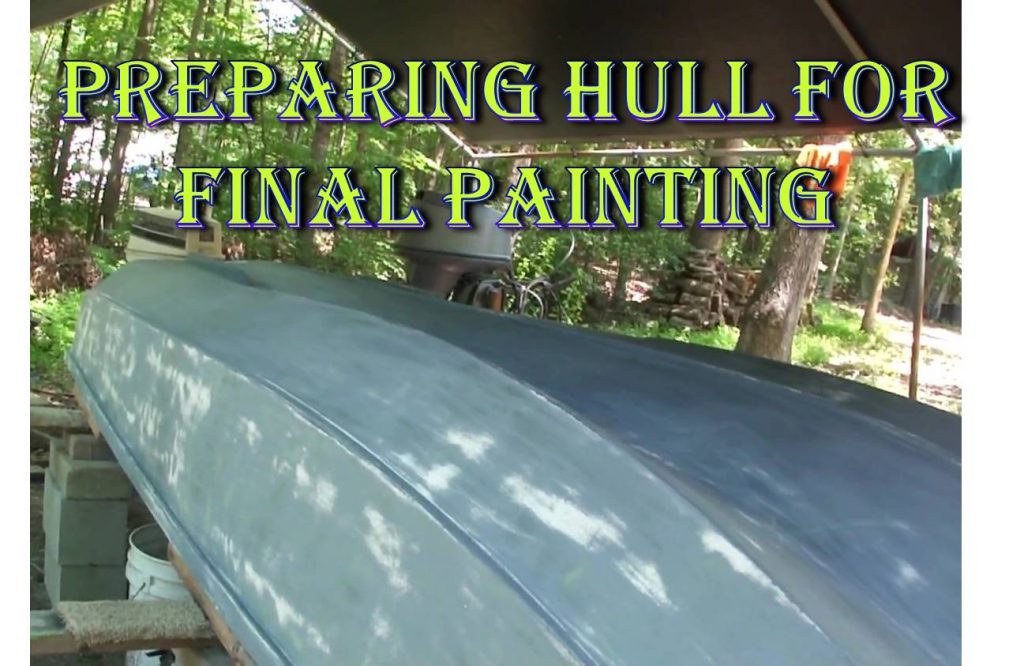
The next step in restoring this Boston Whaler 13 is going to be fairing and prepping the hull for it’s final paint. Fairing is the process of creating a smooth surface in preparation for applying epoxy primer and final painting. The objective is to have the surface free of dips or bumps. I’ll be using fairing compound (and lots of sanding) to get the fairing done as well as a two part epoxy primer.
Types of Fairing Compound
There are various types of fairing compounds that can be used. My preference is the TotalBoat two part epoxy system, which I’ve been using on this boat restoration. I like it because the two parts are different colors, yellow and blue. When mixed properly in equal amounts, the result is a uniform green. This compound spreads easily and does not sag, making it ideal to use as a leveling (fairing) agent.
There are also polyester based fairing compounds. The polyester compounds are closer in chemical makeup to traditional fiberglass resin and gelcoat. As a result, they may be more appropriate when the final coats will be gelcoat rather than paint.
You can also make your own fairing compound. You do this by using an epoxy mix and adding thickening agents to it. Ground glass is one of the additives I’ve used. I will typically use thickened epoxy as a fairing compound when I want to make sure the repair needs extra strength, or is filling in large voids. :LINKLINKLINK
Prepping for Fairing Compound
Before adding any fairing compound, I wanted to make sure the surface was as clean as possible. I usually wash the boat down with a mixture of dawn and ammonia. Brushing it in helps to remove the amine blush from the cured epoxy. As a final precaution, I’ll wipe down the entire boat with acetone. This ensures I have a clean surface to work with.
Applying the Fairing Compound
Now that surface is clean, we can mix up the fairing compound. I like the TotalBoat fairing compound because of it’s ease of mixing. Basically, You take equal amounts of the yellow and blue compounds and mix them until it is a uniform green color. Easy to measure, since its equal amounts of hardener and base. Plus it’s easy to mix since the two colors have to be evenly blended to a uniform color.

Applying the fairing compound is a fairly straight forward process. Once it’s mixed, I use a flexible putty knife to skim a layer on over the areas that need it. I’ve seen two methods of applying fairing compound. Some folks like to slather it on thick and then shape it to the contours. I’m a firm believer that less is more.
I believe that heavy layers of fairing compound have the potential to crack and delaminate down the road. Most of my repairs use as little as possible to fill in the valleys. A good high build epoxy primer will fill in some of the finer spider cracks. But, a thin layer of fairing compound will do wonders to fill in all of the cracks!
Having said that, you’ll see me applying a somewhat heavy FIRST layer during a repair. You’ll also see me sanding it down so that only the dips are filled in. I probably sand off more compound than is actually left behind in the repair.
I actually do this intentionally. The idea is to not only fill in the dips, but too also fill in any minute gaps and pinholes that may be present but not visible. I find this to be effective. There’s another technique I use as well which I’ll cover later in this article.
The next few layers will be very thin. I’ll also apply the second and third layers of fairing compound to areas of the boat the may have deep scratches. Covering these areas will also help fill in spider cracks that may not be fully covered by epoxy primer.

Repairing the Keel

One area that I needed to fix was repairing damaged areas of the keel. I filled in smaller dings with fairing compound. Larger areas I used a compound called PC-11. Many folks would also use Marine-Tex which is very similar to the PC-11. The PC-11 is easier to use as you mix equal parts. It is also significantly less expensive than the Marine-Tex.
If there were larger areas that needed repair on the keel, I would apply layers of fiberglass. The keel is structurally important to the overall structural integrity of the boat. This is especially true in small Boston Whaler which do not have stringers for rigidity.
Fair Sand and Repeat!
Once the repair has cured, I’ll sand it down. I’ll typically use 80 grit on a random orbital sander if the shaping required is medium. I may use a straight rotary sander or a heavier grit if there’s a lot of shaping to be done. I’ll repeat this process several times, sanding then adding a layer of fairing compound. Each successive layer being thinner than the last. Typically, it will take about three layers for the repair to get to the point I am happy with it.

This is not wasteful. I faired this entire Boston Whaler with this method and only used two quarts (one of hardener and one of base) and not only had excellent results, but had about a pint overall left over!
Flexible Long Board Sander
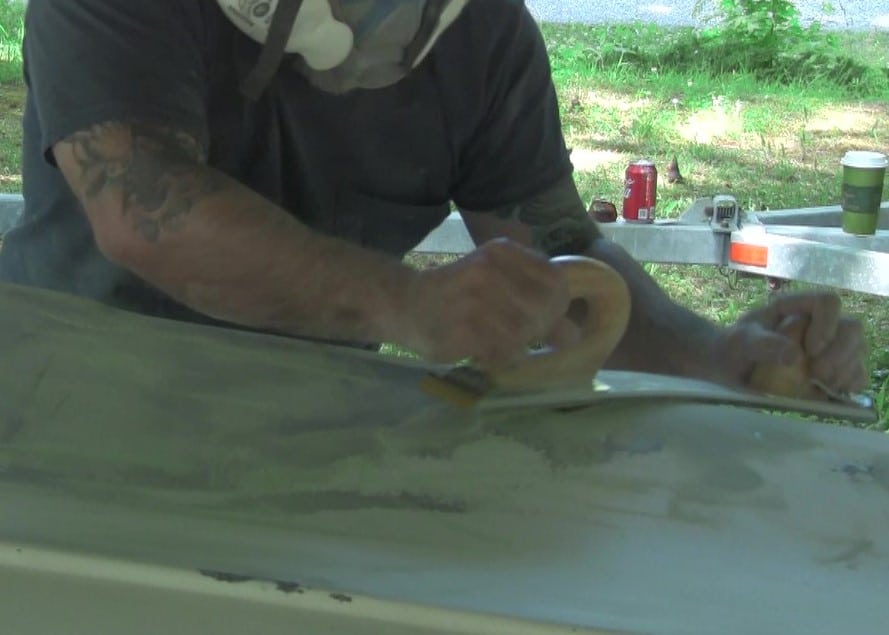
One item that I did use which I found to be extremely valuable is the flexible long board sander. Long board sanders are used to “fair” a hull. This is the process where the repair is made even and level with the rest of the hull. I used a flexible one since there are a lot of complex curves in a boast hull. In this case I used it for final sanding so that I had a nice even surface where the repair was indistinguishable from the rest of the hull.
Why Epoxy Primer
There are several good reasons to use epoxy primer, especially on a hull. A two part epoxy primer is also a barrier coat. This prevents water from getting into or underneath the fiberglass and gelcoat which can ultimately cause blisters in paint or gelcoat. Another good reason to use it is that is is extremely tough and durable (part of being called a barrier coat I guess). Last but not least, it is extremely thick and is referred to as “high’build” so it has the capability to fill in small defects such as fine spider cracks.
First coat of Epoxy Primer
I’ll cover the final priming and painting in the next Boston Whaler restoration article. But I will be adding one coat of grey two part epoxy primer barrier coat in this one. I had a quart of the Total Boat high build epoxy primer leftover from another project and thought this would be the perfect time to use it.
First, I had to prep the boat, sanding the entire boat with 120 grit sandpaper and then washing it down with a mixture of dawn dish soap and ammonia.I mixed eight ounces of the epoxy primer at a ratio of 3:1. Just before applying it, I went over the entire hull with denatured alcohol for a final cleaning. After that, I rolled on the primer. I was able to cover about a quarter of the hull with 8 ounces. I ended up using the entire quart to get a decent coat of the high build, epoxy barrier primer coat on.

What I found after the Epoxy Primer Cured
The next day, I went out to see how the primer had settled. What I found was that hundreds of spider cracks were showing through the primer! I was concerned that this would end up showing through the final paint. So I took an extra step to insure I could get rid of it all. It is possible that another coat of epoxy primer would fill it in, but I would rather tackle the problem now rather than later.
Cleaning up the Spider Cracks

First, I sanded the primer on the epoxy primer with 120 grit sandpaper. Then, mixing up small batches of fairing compound, I applied very thin layers over where the spider cracks were at their worst. These were very thin layers. Basically just enough to fill in the cracks and leave a glaze behind. The entire boat took on a patchy look by this time, and it was about to get worse!
The next step was to sand the entire boat with xxx sandpaper. I believe that preparing the surface between steps and coats of primer or paint is important. Any defect that gets missed in a step will be amplified with each additional step. So it behooves you to make sure that you shape and sand each step. One way to avoid the spider cracking showing through is to sand the original gelcoat down as much as possible. The spider cracks will be easier to fill in with epoxy primer and or fairing compound.
In this case, I ended up with a patchy looking boat by sanding everything smooth. It kind of looks like camouflage! There’s alternating patches of fairing compound, epoxy primer and even gelcoat! But that’s ok, the next two coats of epoxy primer will cover that and prep it for the two part polyurethane paint!

In my next article on this Boston Whaler restoration I’ll be adding two coats of white epoxy primer and finishing the hull with several coats of two part polyurethane..
You can go to the main Boston Whaler 13 Restoration Page to select individual articles from the entire restoration. I also have a YouTube video of this phase of the restoration here: Fairing and Prepping the Hull for Final Finish
I’ve included affiliate links to the materials I used in this article below:
