
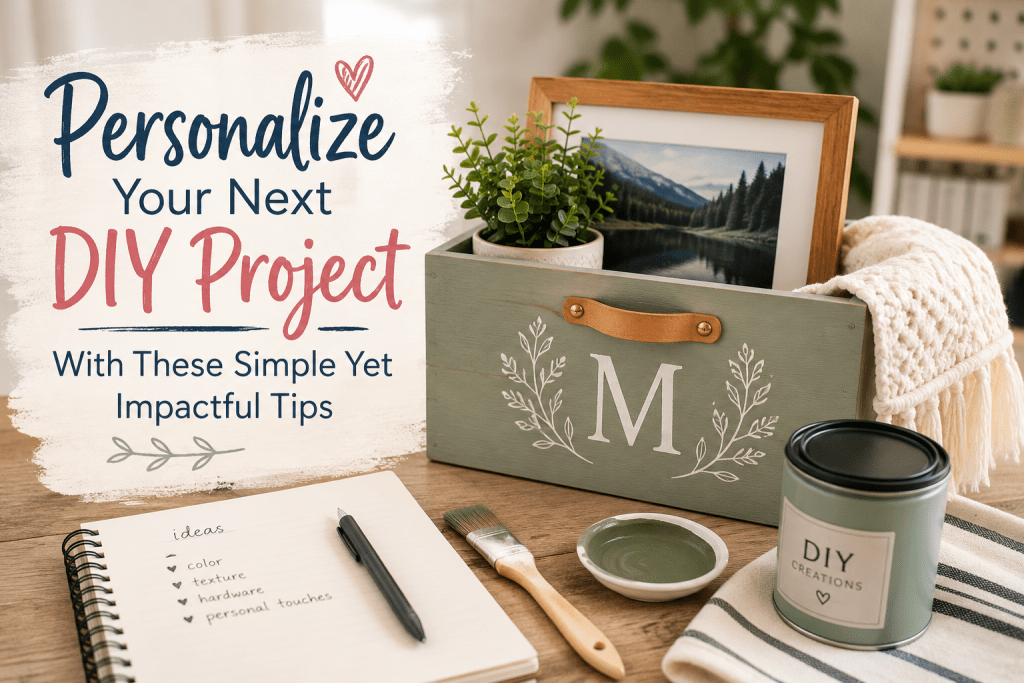
DIYers are people who build, repair, or customize projects themselves—often furniture, wall art, or outdoor structures—with creativity and hands-on skill. One of the most powerful ways DIYers can elevate a project is by adding their own graphics, patterns, or visual designs. These details transform a basic build into something unmistakably personal.
You might start with a simple wooden bench, plain planter box, or blank wall panel. The structure matters—but the visual layer is what gives it identity.
Quick Overview
- Even simple graphics—stripes, stencils, engraved initials—can dramatically change the feel of a project.
- Planning your visual design before building helps create cleaner, more professional results.
- Techniques like painting, stenciling, engraving, wood burning, vinyl decals, and transfers offer different looks and durability levels.
- The best results happen when structure and surface design are considered together.
Why Visual Customization Matters
Problem: Many DIY builds look solid but generic.
Solution: Add intentional visual elements.
Result: The project feels finished, cohesive, and uniquely yours.
A custom pattern on a tabletop, a geometric accent on a planter, or a carved detail on a cabinet door adds character without requiring advanced carpentry. In fact, surface customization is often the most approachable way to experiment creatively.
Planning Before You Pick Up a Brush
One common mistake? Treating graphics as an afterthought.
Instead:
Design Checklist Before You Build
- What style fits the space? (Modern, rustic, bold, minimal?)
- Will the design wrap around edges or stay on one surface?
- What tools do you already own?
- Does the surface need sanding, priming, or sealing?
- Will the project live indoors or outdoors?
Planning early allows you to:
- Mask edges cleanly
- Build recesses for inlays
- Leave space for engraving
- Choose paint-friendly wood species
When structure and design are aligned from the beginning, the result feels intentional rather than decorative.
Techniques That Transform Basic Builds
Below is a breakdown of practical methods DIYers use to personalize projects.
| Technique | Best For | Skill Level | Durability | Visual Effect |
| Painting | Furniture, wall art | Beginner | Medium | Bold, flexible |
| Stenciling | Repeated patterns | Beginner–Intermediate | Medium | Clean, graphic |
| Engraving | Signs, tabletops | Intermediate | High | Permanent, tactile |
| Wood Burning | Rustic decor | Intermediate | High | Organic, handcrafted |
| Vinyl Decals | Smooth surfaces | Beginner | Medium–High | Crisp, modern |
| Transfers | Vintage-style furniture | Beginner | Medium | Detailed, soft finish |
Choosing the right technique depends on how permanent you want the design to be—and how much wear the piece will see.
Painting and Layering: Simple but Powerful
Painting remains the most versatile customization method. You can:
- Create color-block designs
- Add abstract brush strokes
- Use painter’s tape for geometric precision
- Layer contrasting colors for depth
A simple two-tone scheme can elevate a bookshelf from basic to statement piece. The key is patience—thin coats, proper drying time, and careful taping make all the difference.
Stencils and Repeating Patterns
Stencils help achieve professional-looking designs without freehand skill.
They work especially well for:
- Accent walls
- Drawer fronts
- Patio tabletops
- Planter boxes
Lightly secure the stencil, use minimal paint on the brush or roller, and build color gradually. Heavy paint causes bleeding—less is more.
Engraving and Burning for Permanent Detail
If you want a design that lasts as long as the project, engraving or wood burning is a strong option.
Engraving tools or rotary tools can carve:
- Names
- Coordinates
- Decorative borders
- Custom logos
Wood burning adds a handcrafted aesthetic. Always test on scrap wood first—different wood species react differently to heat.
Finding and Refining Your Design Direction
For many DIYers, the hardest part isn’t building—it’s deciding what the design should look like.
Experimenting with different themes, moods, or visual directions can unlock creative ideas. Some people sketch by hand. Others collect inspiration photos. Another fast way to explore visual concepts is using a tool like Adobe Firefly’s text-to-image generator to create design mockups or style variations. Generating a few visual references can help you narrow your direction before committing to paint or engraving.
Still, digital exploration is just a starting point. The real magic happens through hands-on iteration—testing paint colors, adjusting scale, sanding back mistakes, and refining details until it feels right.
A Helpful Resource for Design Inspiration
If you’re looking for fresh ideas, build guides, and creative ways to upgrade your projects, Extreme DIY is a useful place to explore.
The site features project breakdowns, practical tips, and inspiration across a wide range of DIY categories—from furniture upgrades to outdoor improvements. Browsing step-by-step builds can help you see how others integrate graphics, finishes, and design details into functional pieces. Even a quick scroll can spark a new pattern idea, color direction, or finishing technique you hadn’t considered before.
Making It Look Cohesive
A professional-looking DIY project usually shares one trait: restraint.
Try this approach:
- Pick one dominant visual element.
- Repeat it subtly in two or three places.
- Avoid mixing too many competing patterns.
For example, if you add a bold geometric pattern to a coffee table top, consider keeping the legs a single solid color. Cohesion often comes from contrast paired with consistency.
FAQ
Do I need advanced artistic skills to customize my projects?
No. Many customization techniques—like taping patterns or using stencils—require more patience than artistic talent.
What’s the most beginner-friendly method?
Painting with painter’s tape for geometric shapes is one of the easiest entry points.
How do I protect my design?
Seal your finished surface with polyurethane, wax, or an outdoor-rated sealer depending on where the piece will live.
Can I customize outdoor builds like planters or benches?
Yes, but use weather-resistant paint and sealants to prevent peeling or fading.
Final Thoughts
Custom graphics and patterns are often what turn a solid DIY build into a memorable one. Think about the visual layer early, test ideas before committing, and let your design evolve as you build. The result won’t just be functional—it will feel distinctly yours.
