Getting the interior of this Boston whaler ready for a finish coat of fiberglass paint has been a challenge. There was a lot more defects that really were unnoticeable until you started Digging in. The first hurdles were the large hole in the anchor locker, rebuilding the transom and the delamination in the bow . In retrospect, those were easy compared to the myriad of small cracks and missing pieces of gelcoat.
What’s this boiled down too was that I was faced with two choices. First, I could sand out as much as possible and fill with fairing compound or I could try to take off all of the gelcoat and start from bare fiberglass. I chose to go the sanding and fairing compound route. I really started digging into this in earnest after fixing the large glaring problems I previously mentioned.
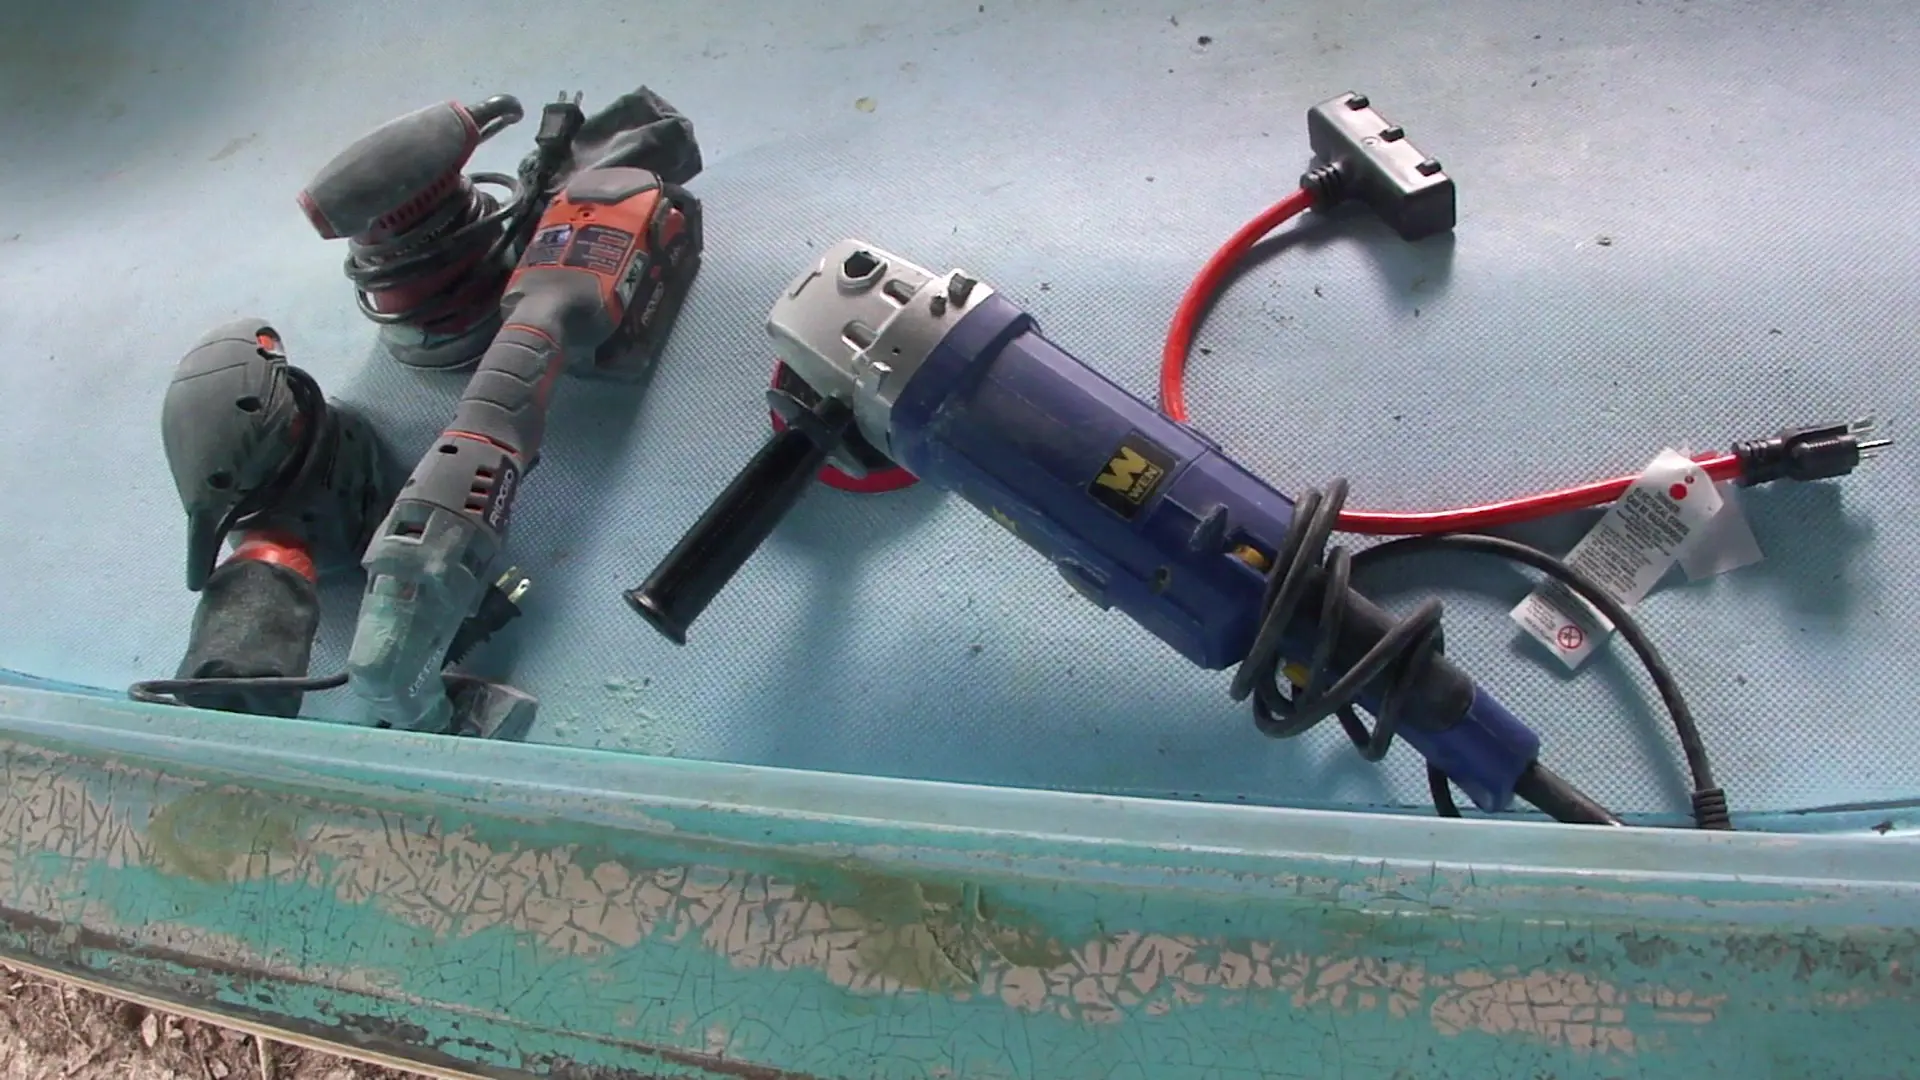
Topside Sanding and Sanding Tools
I used a number of different sanders for this project. I used a belt sander with an 80 grit belt, An random orbital sander with sandpaper ranging from 60 to 120 grit and several detail sanders with varying grits of sandpaper. You can see in the picture the variety of sanders I kept on hand for this.
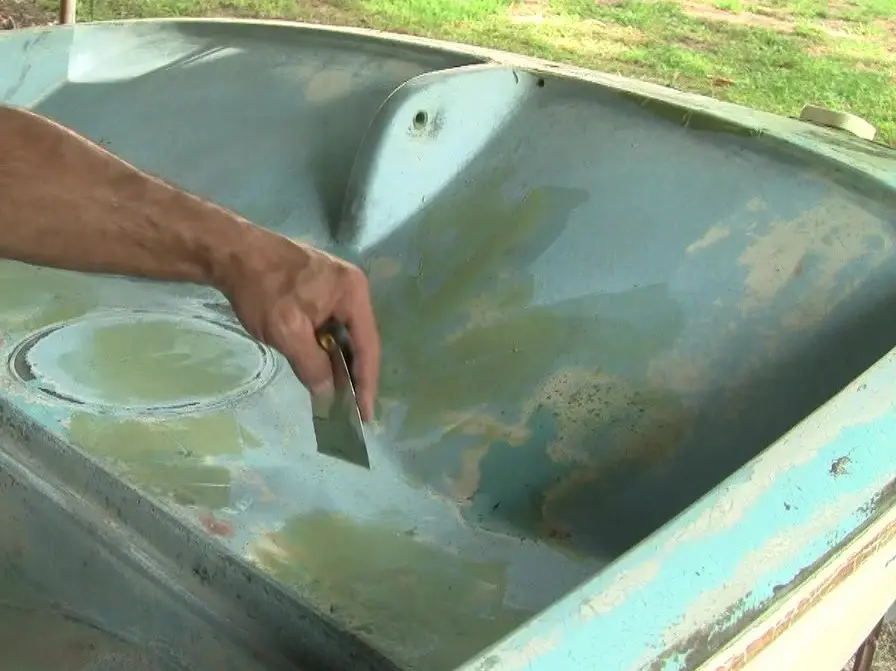
I started by sanding, I focused on the areas that looked like they needed the most attention. These would be the areas with large holes or large pieces of missing gelcoat I actually sounded completely through the gelcoat on some areas. These areas were so bad that starting from the bare fiberglass seemed like a good idea.
So I sanded, oh boy did I sand! When I first started sanding, I hit it with 60 and 80 grit. I got a nice bonus the first few times around, I was covered in a fine blue dust from head to toe. I seriously looked like Papa Smurf from all the blue dust on me. My key goals with sanding were twofold. The first was to prepare the surface for paint and fairing compound. The second, to to sand off any loose flakes of paint or gelcoat.
Once I got a good overall sanding on this boat, I went at it with the fairing compound. I had already patched in a lot of defects (you can see these in my other articles), so the fairing compound was basically the final coat to cover up holes defects cracks and other problem areas.
Fairing Compound to Fill in Defects
I used TotalBoat two part epoxy based fairing compound. This is a great product! It’s almost impossible to mess up. You use two equal parts of the yellow and blue and mix them together until they are a consistent green color. You have good working time (I got around 20-30 mins). I made sure to give the fairing compound 3 to 4 hours to dry before sanding.
This depends a lot on the temperature and humidity. The hotter the temperature the faster it cures. Typically I would do to fairing compound and then come back the next day to do the sanding.
This became a repetitive process of sanding, applying fairing compound and yet more sanding. After about three iterations of this I was pretty close to getting to the point where I could apply primer. The picture on the right may give you an idea of how much fairing compound I went through. You may also notice some black marks, I used a permanent marker to highlight areas needing attention.
Fiberglass Paint Primer
So at this point I went ahead and put a coat of primer on. In retrospect I wish I had just primed it to begin with. The first coat of primer revealed a lot of mistakes that I had overlooked. I can see why, having a solid color throughout the entire boat tends to highlight and Shadow defects. In any event, after the first coat I went back and sanded away the most glaring defects. After sanding I filled those areas in with fairing compound.
At that point I put a coat of petite EZPrime over the areas that I just fixed and let that dry. Next and last, was the final coat of primer. I added Pettit 120 thinner and pettit performance enhancer to the primer. That insured that it would lay down quicker and give me a flat or surface to work with. I used a double thick chip brush and a high density foam roller to paint the primer. Before adding the petite easy prime fiberglass paint, I sanded the entire surface down with 150 grit sandpaper.
Fiberglass Paint Primer and Additives
fiberglass paint primer on boston whaler
Great Sandpaper!
I have to say that I’m really impressed with the 3M sandpaper. It’s got a non slip back. It doesn’t feel like paper, it feels more like a sheet of plastic but that makes it long lasting. I even ended up using some as wet sandpaper at one point. It held together just fine even when saturated with water!.
The entire interior is done now with a coat of EZPrime primer. So I can go ahead and in the next installment I will be adding the Totalboat Wet Edge fiberglass paint. I’ll send this down with 220 grit 3M sandpaper before painting the boat with it’s final coats. I’ll have this done in the next few weeks. There’s a short window of opportunity before it gets to cold!