Esthetics for one. Personally, I think they are hideous and in most cases a sign of a cheap builder or contractor taking the easy way out. You’ll find that underneath of a popcorn ceiling there is drywall. In my experience, it has been taped and the screws have been mudded over. For all practical purposes, it is paint ready. But it is far cheaper and easier to spray on the popcorn. Otherwise, they would have to prime the surface and then paint it to a final finish. Popcorn ceilings have a way of collecting dirt and developing cobwebs. Cleaning them is a challenge as the substrate is so chinzy, bits of it will fall off if you dust or clean it with a broom. Getting rid of them is a great way to bring up the appeal of a room a few notches.
A Little Bit About Popcorn Ceilings
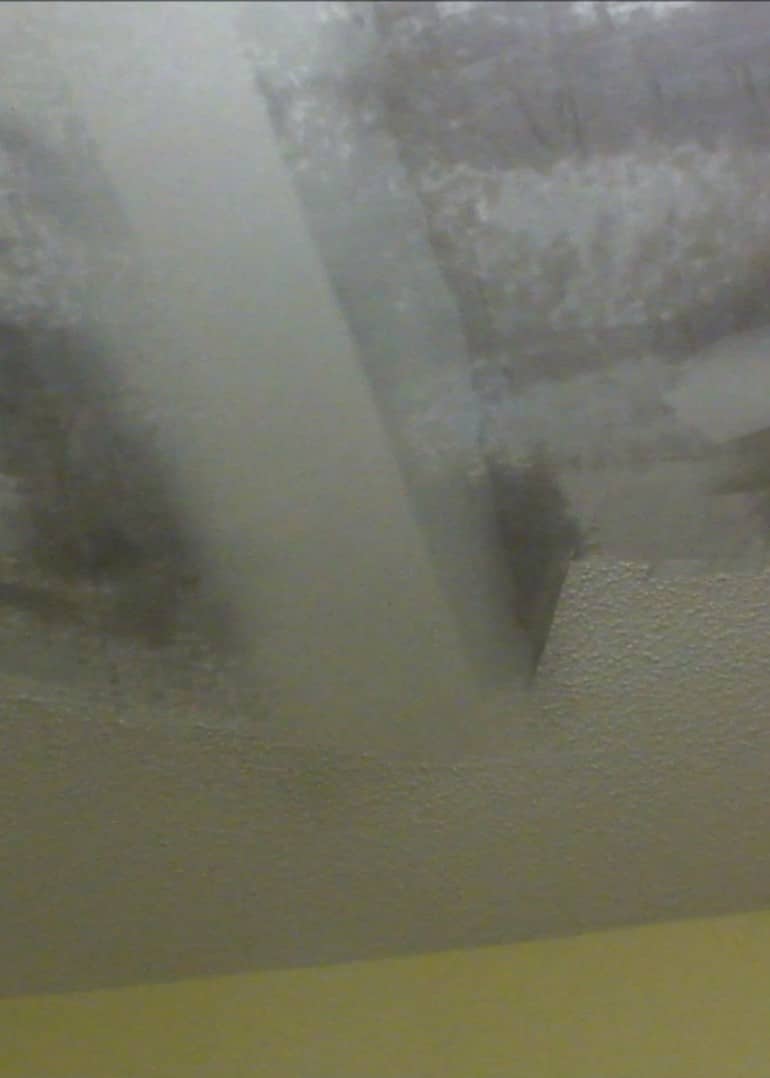
Textured Popcorn Ceiling
Textured ceilings have been around for a long time. How they are textured has varied over the decades. There are some textured ceilings that are plastered (or compounded) on. These typically look like drippy compound coming off the ceiling. The technique I’ll be describing below will not work for that type of ceiling. It will only work for the very light compound based ceilings that are in more recently built homes. My house was built in the mid-90’s and has popcorn ceilings. You may find these ceilings in homes built in the 80’s and possibly the 70’s as well.
Asbestos in Textured Ceilings
In older homes, there is a possibility that your ceiling texture may contain asbestos. The use of asbestos was banned by the U.S. federal government in 1977. However, builders and others were permitted to use their existing stock of supplies until they were exhausted. Consequently, houses built into the 80’s have a risk of containing asbestos in textured ceilings. If in doubt, HAVE IT TESTED! Here’s an affiliate link to a number of Asbestos Test Kits.
Tool You Will Need
To remove the Textured Popcorn
There aren’t a lot of tools necessary to get rid of a popcorn ceiling. If you are like most avid do it yourself, you’ll have these already. To actually remove the popcorn ceiling you will need two key tools. A good quality spray bottle and a four inch plastic spatula. A standard spray bottle from one of your big box stores will do the job. I would advise that instead of that you get a small pump pressurized spray bottle. The squeeze trigger on the regular sprayer will work, but your hand and finger will rapidly get tired. The pump spray bottle will make life a lot easier Trust me, your fingers will thank you as well.
Pump Spray Bottle
I use a four inch plastic spatula. Plastic is less likely to mar the sheetrock and joint compound that is underneath the popcorn. One optional item is a temporary light fixture. These are bare-bones sockets that are typically used in construction sites. I prefer to take down any fixtures that are on the ceiling so I can work the entire ceiling without any obstructions. Having a temporary light fixture will give you the light you need to get the job done. One additional benefit of a temporary light fixture is that it will shine light directly on the ceiling. This lets you see any defects or missing spots more clearly.
Don’t Forget a Tarp!
It would be a good idea to have one or two disposable tarps. This is especially true if you want to save the flooring in that room. The wet popcorn will make a bit of a mess as it comes of the ceiling. Having a tarp catch all of the mess as you get rid of the popcorn ceiling will save your floor. It will also save you a lot of time on cleanup. Oh, and don’t forget a ladder, unless you are really tall!
Finishing Tools and Materials
You’ll need some additional tools to finish the ceiling once all of the popcorn texture is removed. You’ll also need a small tub of joint compound to repair any scratches or dents that may be left after removing the textured popcorn. Here’s a list of the tools you’ll need to finish the ceiling and leave it looking like a professional did it for you.
Four inch Drywall taping blade
Two Inch Spatula
Joint compound
PVA Primer (or other compatible primers such as “Kilz”
Drywall Sanding screen (or sandpaper 120 grit), sanding pad and pole
Ceiling white paint (or any other color you prefer)
Paint roller, brush and pan
Optional – a drywall hawk makes handling joint compound a lot easier
Lets Get Rid of the Popcorn Ceiling
Taking the Popcorn Ceiling Down
Taking the popcorn ceiling down isn’t very hard. As a matter of fact, it’s really quite easy. However, it is tedious and extremely messy! Taking the popcorn off of your ceiling is as simple as spraying it with a light coat of water, letting it soak in for a minute or two and scraping it off. You’ll probably need to do a second pass on each section you work on. Two passes with water and the spatula will usually take it down to the sheetrock.
Spraying Water on Popcorn Ceiling
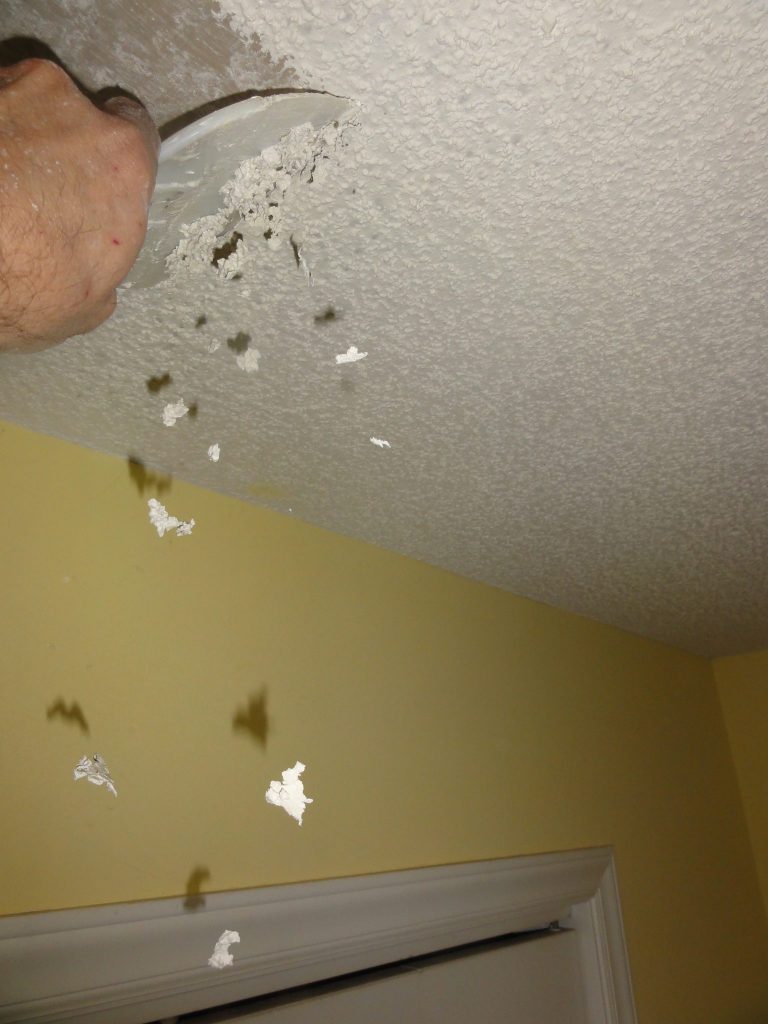
Popcorn Ceiling Being Scraped Off
Popcorn Ceiling Partially Removed
You’ll notice that once you have the popcorn off, what’s left behind is taped and mudded Sheetrock. Be careful with the scraping. It’s easy to mar the sheetrock or joint compound underneath the popcorn. It inevitable that there will be some “scarring”. But, part of the job is patching up any scratches or dings. However, the less patching you have to do, the faster this will go!
Getting Your Nice New Ceiling Paint Ready
Patching and Sanding the Ceiling
Once you have all the popcorn down, it’s time to get it ready for primer. You’ll want to have the joint compound, the drywall blade and the hawk (if you have one) on hand for this. This part os where having a drywall hawk shines. You can load enough joint compound on to the hawk to work a section oc ceiling without having to climb up and down the ladder.
Patching ceiling damage from popcorn texture
Carefully apply joint compound to the small dings and scratches that are bound to be there. It doesn’t matter how careful you are in removing the popcorn ceiling, you’ll find some minor defects. Don’t worry. A lot of these were left behind by the sheetrock mechanics and painters. Knowing that popcorn will cover up a lot of these dings invites a certain amount of laziness. You don’t need to use a lot of joint compound. A small amount to fill in and smooth dinged up areas will do the job. Don’t worry about the really minor dings and scratches, the primer will fill these in and make then unnoticeable.
Time to Sand it down
I believe this is an important step. Sanding leaves a smooth surface. It will also take down some of the popcorn texture lumps that are bound to be left behind. Typically, I lightly sand down the entire ceiling. Pay special attention to the “popcorn” lumps. Be careful sanding over the tapelines and drywall screws that have been covered in joint compound. You don’t want to remove too much of the joint compound. Otherwise, you may find yourself retaping to filling in drywall screw holes before priming!
Priming and Painting Your New Ceiling
First, you need to prime your ceiling. This is key! Primer will do several things for you.It will seal the drywall. Drywall has a paper finish, primer will soak in and leave a hard surface for paint to adhere too. Secondly, it will fill in and cover an small or minor imperfections. I use a medium nap roller since it leaves a slightly thicker and more textured finish. Personally, I think this is critical in covering up imperfections. Don’t skimp, use a high-quality PVA primer (Poly vinyl acetate) .
Applying Primer Coat to Ceiling
You can also use a reputable primer cover-up type primer. Kilz and Zinsser both make very good primers of this type. I used the Kilz hide-all multi-surface primer for this project. I rolled it on fairly thick (after cutting in the corners and edges with a brush. At first, I was skeptical. It looked really blotchy and I thought I would have to roll on a second coat. However, after letting it dry overnight, I found a nice, uniformly covered ceiling that could have passed as a finish coat. It was a light gray though, if I were doing this over I would use their Kilz Hide-All branded as a ceiling primer, only because it has a much whiter tone to it.
Finish your Popcorn Free Ceiling!
Once you have the primer on, let it dry for at least 24 hours. Most of these primers are paint ready in an hour. My preference is to let it set and not only get dry, but have a chance to cure and give me a solid base to put the color coat of paint on. But if you are pressed for time, follow the dry/cure times on the primer you are using. Rolling on the final coat is all you have left.
Do the same as you did with the primer. Using a brush, cut in the corners and edges of the ceiling. I prefer to do a small section at a time. This allows me to roll in a coat over the fresh brush marks while it is still wet. I carefully roll into the edge as close as possible without touching the wall. This gives you a finish with a uniform texture.
I hope this article helps out with your popcorn ceiling project. Let me know if you have any suggestions or other tips I can share with our readers. Thanks for visiting ExtremeDIY!