If you restore fiberglass boats, fiberglass hole repair is going to be one of the tasks you face. Many folks will just fill in the hole, sand it smooth and call it a day. The problem with that is that those plugs will eventually work themselves loose. Think about the vibrations a boat hull is subjected to. Add to that the expansion and contraction that it will undergo as temperature changes. It’s only natural that these patches will eventually fail.
Fiberglass Hole Repair
Preparing the old Hole for a Patch
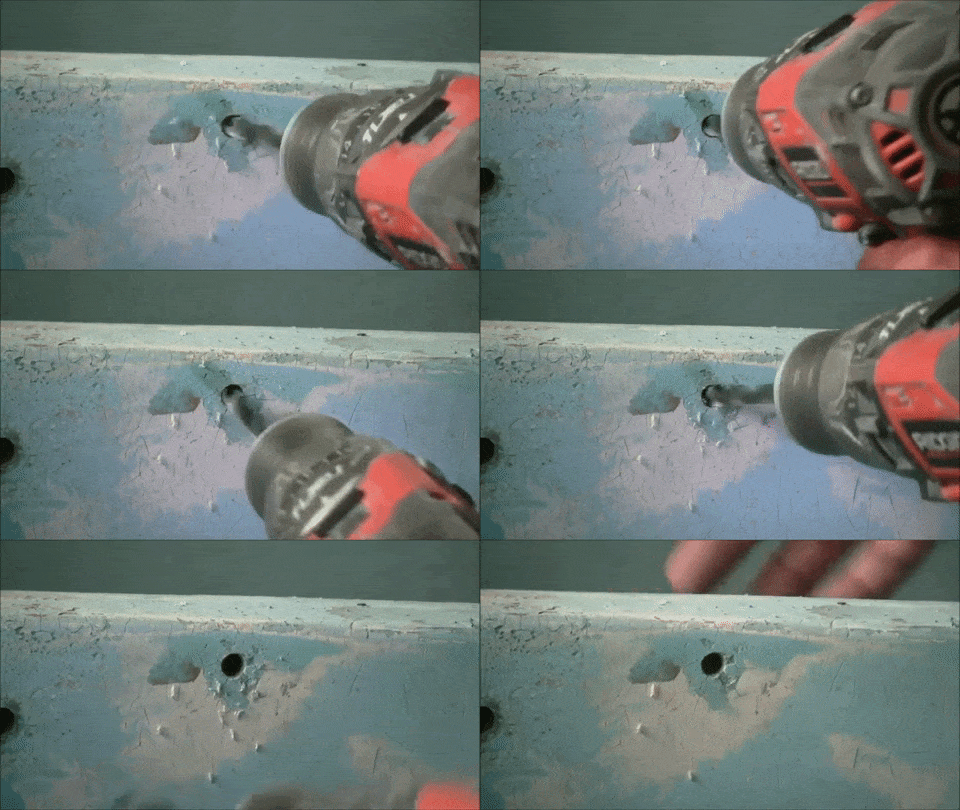
The first thing you want to do when repairing small holes in fiberglass is prep the old hole. You’ll actually want to drill the hole out so that fresh surface material will be exposed. This allows the patch material you are using to adhere better. Use a drill bit that is slightly larger than the hole you’ll be patching. You’ll not only want to drill. But you’ll want to work the drill bit in a circular movement so that you’ll have a bevel on the inside as well as the outside.
Fiberglass Hole Repair Patching Material
Next, pick out what you want to use as patching material. You can buy a two part epoxy based fairing compound. This would be useful if you’re doing a lot of repair work. You can also use an epoxy or polyester resin. If you are using any of the resins, make sure to ass a thickener such as milled glass to get it to a thick consistency so that it will fill the hole in without running. Whatever you do, don’t use a silicone sealant, you’ll never get a good finish on that!
If you’re only doing small repairs, you should be able to buy small quantities of epoxy, the kind that comes in two tubes for gluing objects together. That will be fine for patching small holes. Likewise, if you don’t want to invest in milled glass, you can use sawdust to thicken the compound you are going to use to patch the fiberglass hole. Just make sure it’s very fine. You’d want to use sawdust that’s left over from sanding wood, not the stuff that comes off of a saw.
Patch the Hole
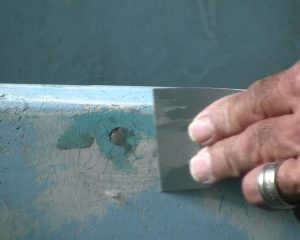
Once you have your patching compound ready, its a simple matter to patch the hole. Work the compound into the hole. It may help to use the corner of your spreader (I use a stainless blade made for auto body repair) to push the compound into the hole. Level the patch off so there’s a smooth surface.
.
Locking the Patch in
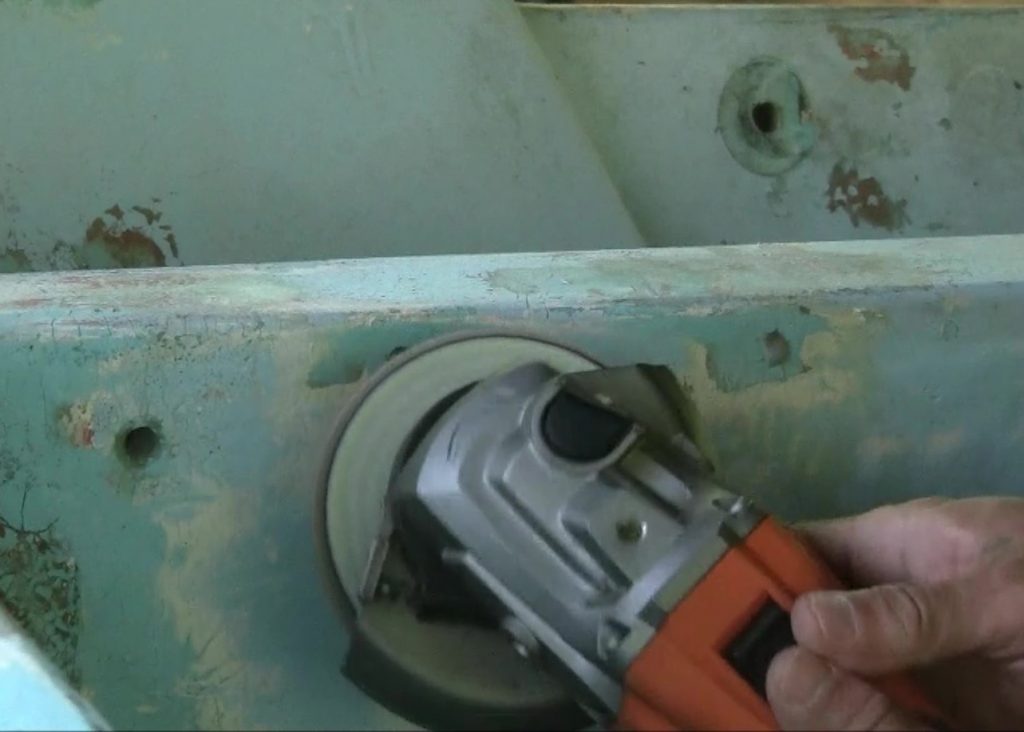
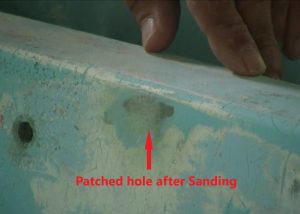
Now comes the part that will fix where most patches fail. You need to lock in that patch so that it won’t work it’s way loose. My preferred method is to use a sander to sand a bevel in over the patch. This should leave a small depression over the patch you just put in. The reason for this is to put in a fiberglass patch over the hole you just plugged. The patch will provide a solid mechanical and chemical bond ensuring that the “plug” will stay in place over time.
If you don’t have fiberglass matting, don’t worry. Use fairing compound or epoxy glue to put a layer over the plug. If you are using the epoxy glue, thicken it with milled glass or fine sawdust. Having the depression filled with epoxy or fairing compound will lock it in so that it cant work its way out.
Finishing Up
Once the layered fiberglass or epoxy fairing compound has cured, you can sand it down so that it is flush with the rest of the surface. It may take another layer or two of fairing compound to get it paint ready. Sand between coats and you will have a surface that is ready for any painting you are going to do.
Check below for affiliate links to materials I used:
Make sure and check out the last article in this series, Boston Whaler Restoration – Anchor Locker Fiberglass Repair – Part 3
You can also watch the YouTube version of this article here: Boston Whaler Restoration – Fiberglass Small Hole Repair – Part 4


